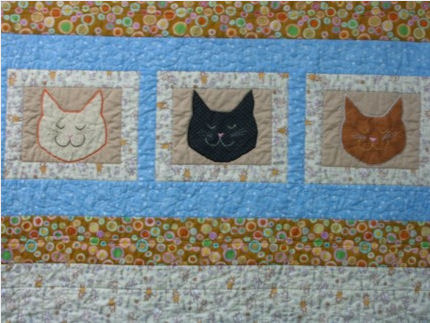
Image from moon spirit studios
Here Kitty, Kitty, Kitty. Come check out this cute baby quilt from Moon Spirit Studios. On sale for $100 through May 31st. Quilt size is 38″ x 49″
Patterns, patchworks and projects
Image from moon spirit studios
Here Kitty, Kitty, Kitty. Come check out this cute baby quilt from Moon Spirit Studios. On sale for $100 through May 31st. Quilt size is 38″ x 49″
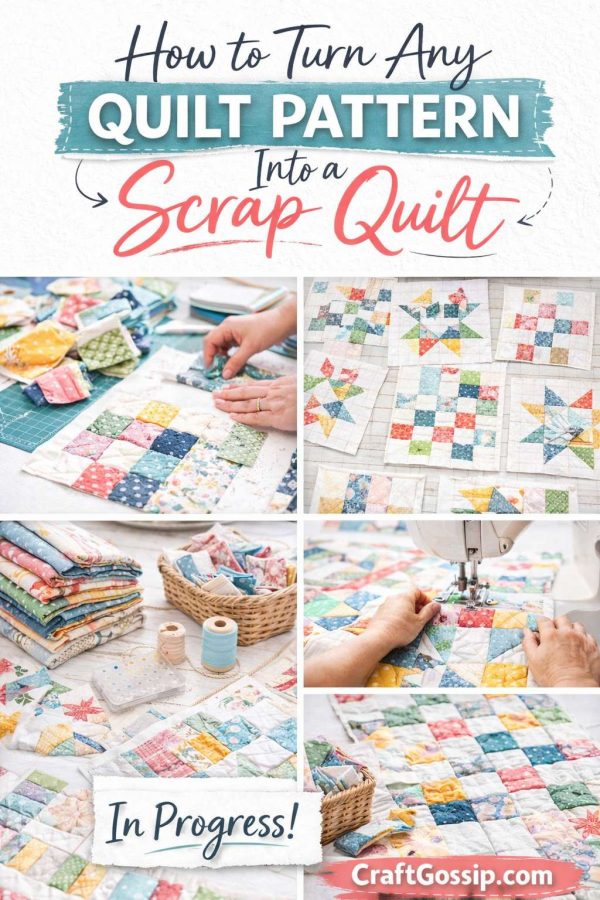
There comes a moment in every quilter’s life when the scrap bin starts judging you.
It’s overflowing. It’s slightly chaotic. And yet… you can’t throw any of it away because “that tiny floral might be perfect one day.”
If you’ve ever wondered how to scrapify a quilt pattern, or how to turn a regular quilt design into a cohesive scrap quilt, this guide is for you.
Because yes — you can turn almost any quilt pattern into a scrap quilt.
And no — it doesn’t have to look chaotic.
Scrapifying simply means taking a standard quilt pattern — one that usually calls for specific fabrics — and replacing those fabrics with a mix of coordinating scraps.
Instead of:
You use:
The structure stays the same.
Only the fabric selection changes.
Not every quilt pattern responds equally well to scrappy treatment.
The easiest quilt patterns to turn into scrap quilts are:
Why? Because they have repetition and structure.
The more structured the block, the better it handles variety.
If you’re a beginner, start with a simple block quilt layout. Avoid complex appliqué or highly detailed modern designs for your first scrap conversion.
This is the secret to a beautiful scrap quilt.
When you scrapify a quilt pattern, something must stay consistent.
You can keep consistent:
If everything changes, the quilt feels chaotic.
If one element repeats, the quilt feels intentional.
For example:
Make all star centers navy.
Keep all backgrounds white.
Use the same grey sashing between blocks.
That one repeating anchor ties the whole quilt together.
When turning a quilt pattern into a scrap quilt, resist the urge to use every fabric immediately.
Instead:
Example: All blues for one block unit.
Assign one color per block row.
Mix prints, but limit to 5–7 dominant colors.
This keeps the design cohesive and prevents visual overload.
Value matters more than print.
You can mix florals, geometrics, polka dots, and stripes — but if all the fabrics are medium tone, the quilt will look flat.
When scrapifying a quilt pattern:
If the shapes disappear when you squint, you need more contrast.
This one trick alone makes a scrap quilt look professionally designed.
Before sewing everything together, lay it out.
Walk away.
Come back.
Rearrange.
Scrap quilts require visual editing.
Sometimes two fabrics sit next to each other and fight. Separate them. Spread colors evenly. Balance heavy prints across the quilt.
This is where the magic happens.
If your scrapified quilt starts looking busy, add sashing.
Solid sashing:
White, cream, soft grey, or even black sashing can completely transform a busy scrap layout into a cohesive design.
Let’s break it down practically.
Instead of two solid fabrics:
Keep the center square consistent.
Instant scrappy charm — zero chaos.
Use:
The star shape stays crisp while the fabric mix adds personality.
Use multiple strips within the same color family for each block.
For example:
Block 1: Assorted blues
Block 2: Assorted greens
Block 3: Assorted reds
It looks intentional instead of random.
Make:
Or reverse it.
Nine patch quilts are forgiving and ideal for scrap conversion.
If your scrap quilt feels “off,” check for these issues:
Scrap quilts need editing.
They’re creative — but they still need structure.
If you prefer a modern scrap quilt look:
Modern scrap quilts often look curated rather than busy.
If you’re new to scrap quilting, start here:
These are easy to control visually and build confidence fast.
Scrap quilts tell stories.
Every fabric piece came from something — a baby quilt, a dress, a project that didn’t quite work out.
When you turn a quilt pattern into a scrap quilt, you’re not just saving fabric.
You’re layering memory into structure.
And honestly? Those quilts often become the ones we reach for the most.
If your scrap bin is staring at you right now, consider this your permission slip.
Pick a simple quilt pattern.
Choose one thing to keep consistent.
Start stitching.
You don’t need perfection.
You just need intention.
Thanks so much for featuring “Kitty, Kitty, Kitty” in your blog!
Warmest & best,
Lisa Cartier-Gruen
Moon Spirit Studios
I especially love that terrific Kaffe fabric you used in Kitty, Kitty, Kitty. I have it in my stash and used it in a quilt top (waiting to be quilted).
Scarlett
Thanks, Scarlett- I love that fabric too….have the smallest piece of it left…deciding what special thing to use it for!
Lisa