If you’ve ever stood in the fabric store with your arms full of fat quarters, a head full of Pinterest inspiration, and a stomach full of nerves, you’re in the right place. Starting your very first quilt can feel exciting—and absolutely overwhelming. I remember staring at my rotary cutter like it was a weapon of mass destruction and wondering if I was about to ruin a perfectly good pile of fabric.
The truth is, quilting doesn’t have to be complicated. Your first quilt doesn’t need perfect points, fancy patterns, or expensive tools. What it does need is a simple plan, a little patience, and the courage to just start stitching. Let’s break it down step by step so you can sew your first quilt without feeling overwhelmed.
Step 1: Choose a Simple Pattern
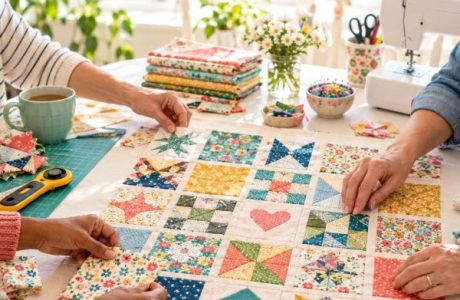
For your first quilt, keep it easy. Stick with squares, rectangles, or strips. A patchwork square quilt or a rail fence design is perfect—no tricky angles, just straight lines.
Pro tip: Don’t overthink it. Simple blocks stitched neatly will look beautiful, and you’ll actually finish it (which is the real win).
Step 2: Pick Fabric You Love
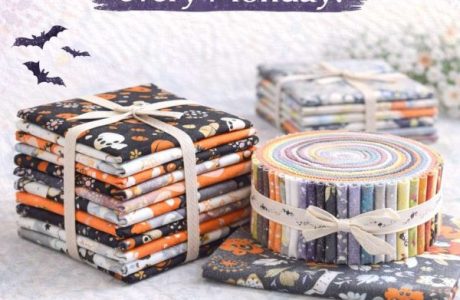
Your first quilt is about learning, but it should also make you smile. Choose a small selection of fabrics in coordinating colors. Pre-cuts like charm packs or jelly rolls are perfect for beginners because they’re already cut to size.
Personal story: My first quilt was a mishmash of bargain-bin fabric that didn’t really match, but I loved every minute of it. Years later, I still keep it folded on a chair as a reminder of where I started.
Step 3: Gather the Right Tools
You don’t need every gadget in the quilting aisle. For beginners, stick with:
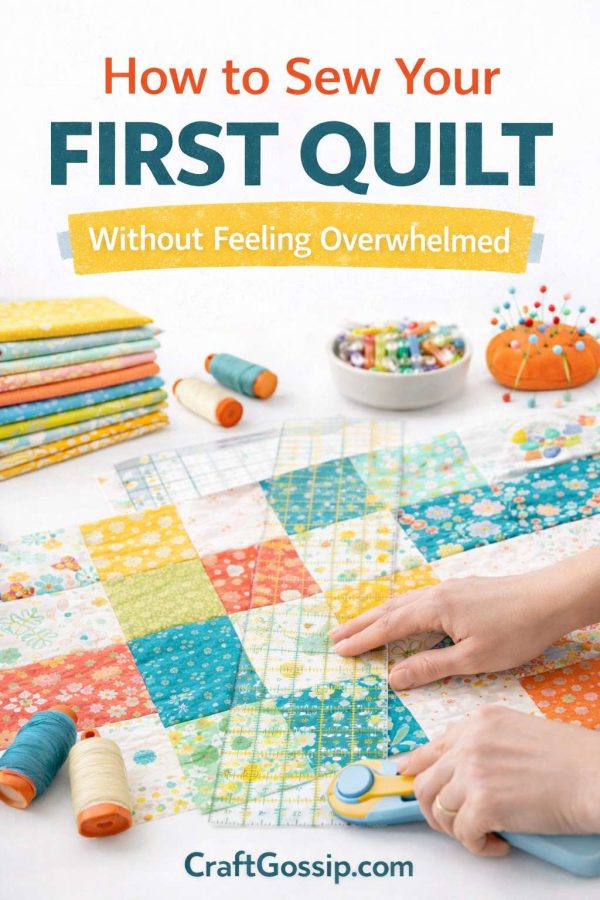
- Rotary cutter and self-healing cutting mat
- Quilting ruler (the clear acrylic kind)
- Sewing machine with a straight stitch
- Iron and ironing board
That’s it—keep it simple.
Step 4: Cut and Piece Your Fabric
Cut your pieces to the size your pattern suggests. Sew them together using a ¼” seam allowance—that’s quilting’s golden rule. Don’t stress if your seams wander a little; you’ll get straighter with practice.
Tip: Chain piece (sewing one block after another without cutting the thread) to save time and keep momentum.
Step 5: Make Your Quilt Sandwich
This is where the magic happens. Lay out your quilt backing (face down), then batting, then quilt top (face up). Smooth out the layers and secure them with safety pins or basting spray.
Think of it like making a big quilt sandwich—top, filling, bottom.
Step 6: Quilt It Together
For beginners, straight-line quilting is your best friend. Sew simple lines across your quilt—either in the ditch (along the seams) or diagonally. It looks neat, feels modern, and avoids the stress of complicated free-motion quilting.
Step 7: Bind the Quilt
Finish your quilt with binding around the edges. Don’t panic—there are lots of easy tutorials (and you can even use pre-made binding for your first go). Focus on getting it attached securely rather than perfectly.
Step 8: Celebrate Your Quilt
When you finally stitch that last seam, stand back and admire your work. It might not look like the quilts in magazines, but it will be yours—and that’s what makes it special.
Your first quilt isn’t about perfection; it’s about learning the process and enjoying the journey. Every quilter has a “first quilt” tucked away somewhere—crooked seams, mismatched points, and all. Mine wasn’t perfect, but it sparked a lifelong love of quilting, and yours will too.
So don’t wait until you feel “ready.” Grab some fabric, take a deep breath, and just start. Before you know it, you’ll be snuggled under a quilt that you made with your own two hands—and trust me, there’s no better feeling.