Let’s be honest.
Making your first quilt feels like signing up for something slightly bigger than you expected.
You start with, “I just want to try quilting,” and suddenly you’re googling seam allowances, batting loft, and wondering why there are so many rulers in the quilting aisle.
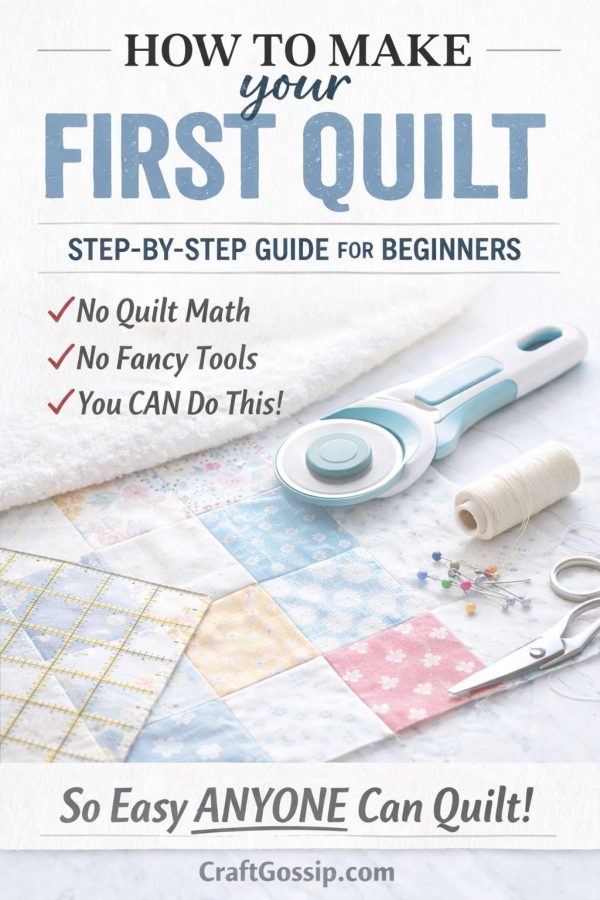
If you’re searching for a true absolute beginner quilt tutorial, this is the one I wish someone had handed me when I started. No assumptions. No complicated patterns. No “you should already know this” moments.
Just a simple, realistic, step-by-step guide to making your first quilt — and actually finishing it.
And yes, you can absolutely do this.
Why Quilting Feels Overwhelming at First (And Why It’s Not)
Quilting combines three separate skills:
- Accurate cutting
- Consistent seam allowance
- Layering and finishing
That’s it.
It’s not hard — it’s just detailed.
Once you understand that quilting is about precision more than speed, everything clicks into place. Think slow and steady. Not rushed and perfect.
Your first quilt is about learning the rhythm.
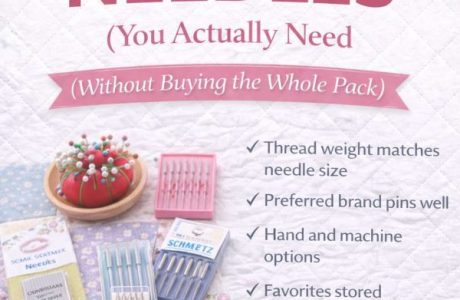
Beginner Quilt Supplies: What You Actually Need (And What You Don’t)
Let’s simplify this.
Essential Supplies for First-Time Quilters
- 100% cotton quilting fabric
- Rotary cutter
- Self-healing cutting mat
- Acrylic quilting ruler (6” x 24” is ideal)
- Basic sewing machine
- Cotton thread (neutral works for everything)
- Quilt batting
- Backing fabric
- Iron and ironing board
- Pins or quilting clips
What You Do NOT Need Yet
- Specialty rulers
- Walking foot (helpful but not mandatory)
- Fancy quilting templates
- Expensive designer fabric
- Longarm quilting services
Start simple. You can upgrade later.
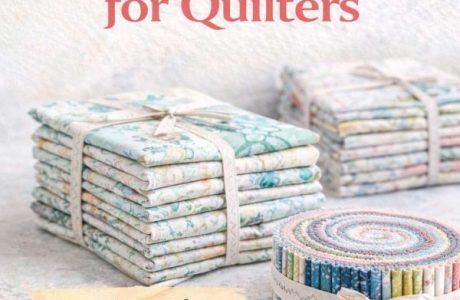
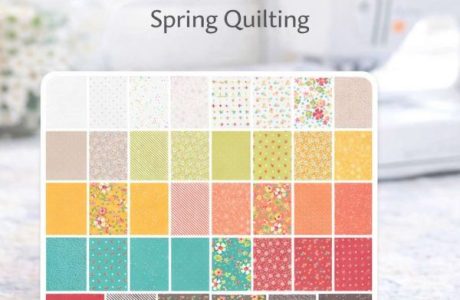
Choosing Fabric for Your First Quilt (Without Stressing Over It)
Fabric choice is where most beginners freeze.
Here’s the secret: coordination matters more than perfection.
Choose:
- 5–10 fabrics
- Mix of light, medium, and dark values
- Small to medium prints or solids
Avoid:
- Large directional prints (harder to line up)
- Slippery fabrics
- Stretchy materials
If you want zero decision fatigue, buy a fat quarter bundle. They’re pre-coordinated and beginner friendly.
Lay your fabrics out on the floor. Squint at them. If nothing screams “too much,” you’re fine.
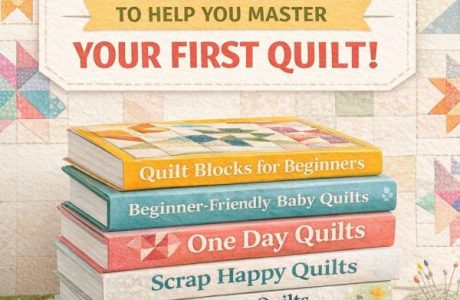
The Easiest Quilt Pattern for Absolute Beginners
When learning how to quilt, complexity is the enemy.
The best beginner quilt pattern is:
A Simple 5-Inch Patchwork Quilt
Why?
- Straight seams only
- No triangles
- No curves
- Easy layout
- Minimal math
You are building confidence, not competing in a quilt show.
Step 1: Cutting Your Quilt Squares (Accuracy Is Everything)
Cut 5” x 5” squares.
For a lap quilt (approximately 45” x 60”):
- You’ll need about 90 squares
- Arrange in 9 rows of 10 squares
Tips for accurate cutting:
- Line up ruler markings carefully
- Keep rotary cutter straight
- Don’t rush
- Replace dull blades
Crooked cutting = frustrating sewing later.
This is where patience pays off.
Step 2: Designing Your Quilt Layout
This is the creative, low-pressure part.
Lay your squares out row by row.
Look for:
- Balanced color distribution
- No heavy clumps of dark fabric
- Even spacing of prints
Take a photo before sewing. Trust me. You will forget the layout.
If Aloo (or your own household chaos) walks across it, you’ll be glad you documented it.
Step 3: Sewing Your First Quilt Top (Chain Piecing Method)
Chain piecing saves time and keeps things organized.
- Take two squares from Row 1.
- Place right sides together.
- Sew with a ¼” seam allowance.
- Without cutting thread, feed the next pair through.
Keep going until all rows are sewn.
Press seams to one side.
Then sew rows together.
Match seams carefully. Pin at seam intersections if needed.
You now officially have a quilt top.
Pause and admire it. That moment matters.
Understanding the ¼-Inch Seam Allowance (The Beginner Game-Changer)
If your seams are inconsistent, your quilt won’t line up.
Many sewing machines have a ¼” marking on the plate.
If not, measure ¼” from your needle and mark it with tape.
Consistency is more important than perfection.
Step 4: Making the Quilt Sandwich (Layering Your Quilt)
This is where beginners often feel unsure.
A quilt has three layers:
- Quilt top
- Batting (middle layer)
- Backing fabric
Lay backing wrong side up.
Place batting on top.
Center quilt top right side up.
Smooth every layer carefully.
Pin every 4–6 inches.
The flatter you make it now, the better your quilting will look later.
Step 5: How to Quilt Your First Quilt (Keep It Simple)
You do not need free-motion quilting.
For beginners, use straight line quilting.
Options:
- Vertical lines
- Horizontal lines
- Stitch in the ditch (along seam lines)
Spacing: 2–4 inches apart.
Sew slowly. Support the weight of the quilt so it doesn’t drag.
This step takes time. Put on music. Make tea. Let yourself settle into it.
Step 6: Trimming and Binding Your Quilt
Once quilting is finished:
- Trim excess batting and backing evenly
- Square your corners
Binding basics:
- Cut 2.5” wide strips
- Sew strips together end to end
- Attach to front of quilt
- Fold over edge to back
- Stitch down
Binding feels like the hardest step until you do it once.
After that, it becomes strangely satisfying.
Common First Quilt Problems (And Real Solutions)
My Corners Don’t Match
This usually means seam allowance inconsistency. It’s normal. Keep going.
My Quilt Looks Slightly Wavy
Likely fabric stretched during sewing. Next time, don’t pull fabric.
My Quilting Has Small Puckers
Not enough smoothing before quilting. It happens. Finished is better than perfect.
I Want to Quit Halfway
This is incredibly common.
Quilting is a bigger time investment than sewing a pillowcase. It requires momentum.
But walking away for a few days is fine. Not finishing doesn’t mean you failed.
It just means you’re learning.
How Long Does It Take to Make Your First Quilt?
Realistically:
- Cutting: 1–2 hours
- Sewing quilt top: 2–4 hours
- Quilting: 3–6 hours
- Binding: 2–3 hours
Spread over weekends, that’s very doable.
Do not expect to finish in one afternoon.
What Size Should Your First Quilt Be?
Start with:
Lap Quilt Size: 45” x 60”
Large enough to feel substantial.
Small enough to manage on a home sewing machine.
Do not start with a king-size quilt.
You deserve a win.
Is Quilting Expensive for Beginners?
It doesn’t have to be.
Budget tips:
- Buy fabric on sale
- Use coupons
- Start with scraps
- Repurpose cotton sheets for backing
You can make a beautiful beginner quilt without overspending.
What You’ll Learn From Your First Quilt
- Cutting accuracy
- Seam consistency
- Color balance
- Patience
- Finishing techniques
But more importantly?
You’ll learn that you’re capable of finishing something layered, detailed, and meaningful.
That first quilt becomes part of your creative story.
Why Your First Quilt Doesn’t Have to Be Perfect
Your points might not align perfectly.
Your binding might wobble.
Your stitching may not be ruler-straight.
It doesn’t matter.
That quilt will still warm someone.
It will still be loved.
It will still represent hours of care.
Perfection is for photos.
Quilts are for real life.
Beginner Quilting FAQ
What is the easiest quilt for beginners?
A square patchwork quilt using 5” or 10” blocks.
Can I quilt with a regular sewing machine?
Yes. A basic home machine works perfectly.
What fabric should beginners avoid?
Stretchy, slippery, or heavy fabrics.
Do I need special quilting thread?
No. Standard cotton thread is fine.