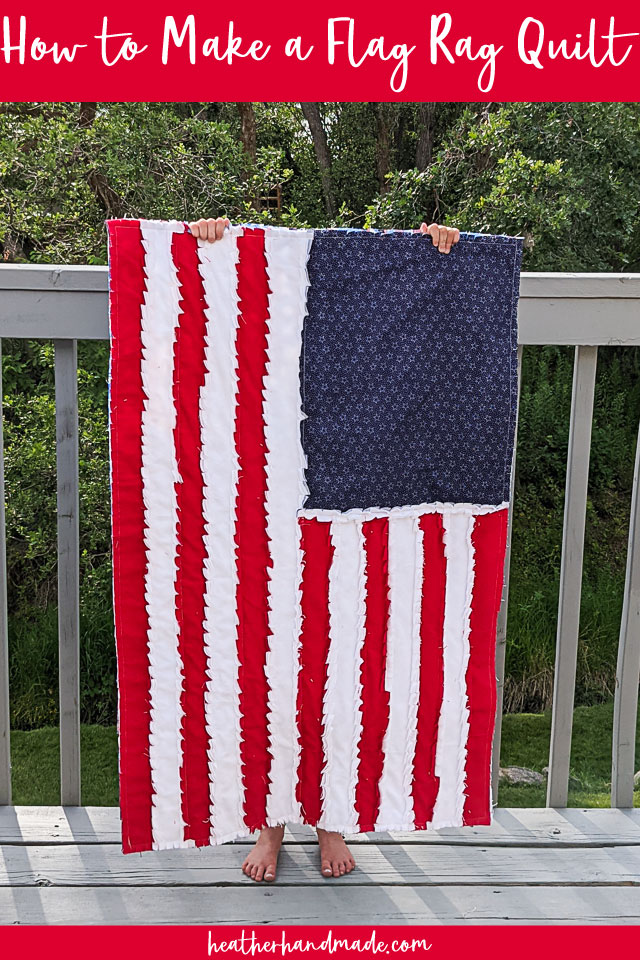
Rag quilts are a fun and cozy addition to any home, and making a flag rag quilt can add a patriotic touch to your décor. This tutorial will show you how to make a beautiful flag rag quilt using scraps of fabric and a few basic quilting techniques.
To make a flag rag quilt, you will need a variety of fabric scraps in red, white, and blue colors, as well as batting and a backing fabric. You will also need a sewing machine and basic quilting supplies such as a rotary cutter, cutting mat, and quilting ruler.
The process of making a flag rag quilt begins by cutting your fabric scraps into squares. The size of the squares will depend on your preference, but typically, they are cut into squares that measure between 5 and 6 inches. Once your squares are cut, you will lay them out in the pattern of the flag, with the red and white squares creating the stripes and the blue squares creating the stars.
Once you have your squares laid out, you will sandwich the batting and backing fabric between the squares and sew them together using a simple quilting stitch. As you sew, the edges of the fabric will begin to fray, giving the quilt a unique, textured look.
After all the squares are sewn together, you will finish the quilt by trimming away any excess batting and backing fabric, and then binding the edges with a coordinating fabric.
A flag rag quilt can be a great project for quilters of all skill levels.
With this free quilt pattern make an American flag rag quilt to decorate for the 4th of July and summer. Rag quilts are easy and fun to make!
Looking for more rag quilt ideas? Check out these Books on Amazon
Check out these other Rag quilt articles we wrote.

Leave a Reply