Image from Eileen's Attic
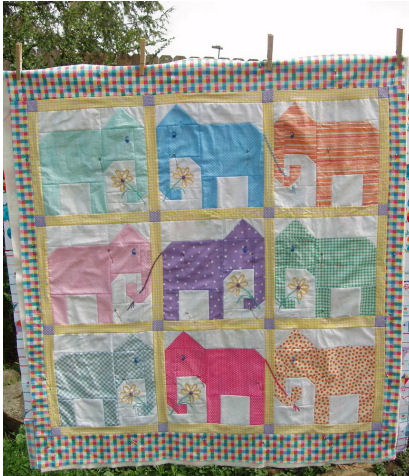
Eileen of Eileen’s Attic blog made this adorable baby quilt top of elephants holding a flower with their trunks. So cute.
The block is an original design from Milk and Honey Quilts. Get the free block here.
Patterns, patchworks and projects
Image from Eileen's Attic
Eileen of Eileen’s Attic blog made this adorable baby quilt top of elephants holding a flower with their trunks. So cute.
The block is an original design from Milk and Honey Quilts. Get the free block here.
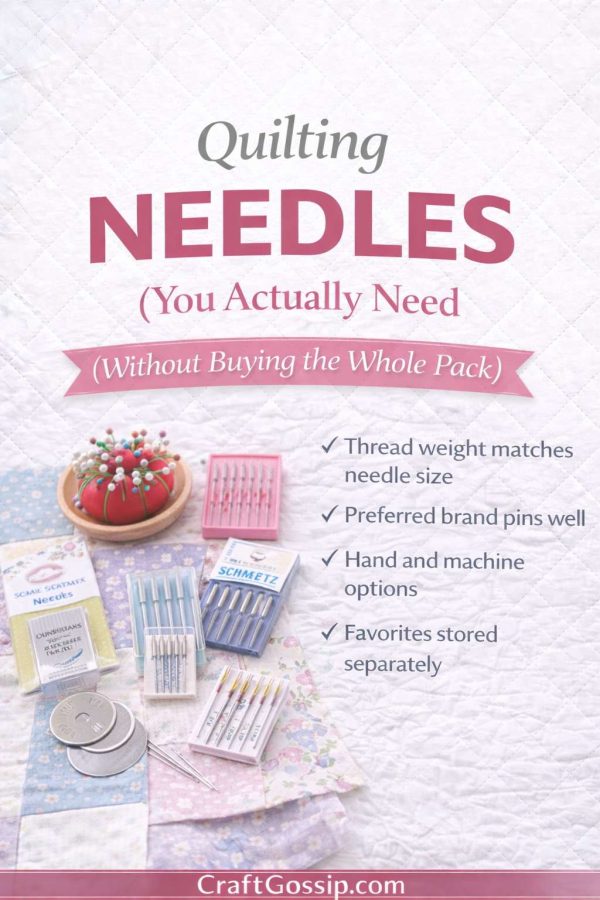
If your stitches are skipping, your thread keeps breaking, or your fabric looks slightly chewed… I’m going to gently suggest something.
It might not be your machine.
It might be your needle.
Needles are one of the most overlooked quilting notions. They’re small, inexpensive, and easy to ignore — until they start causing problems.
For hobby quilters, understanding just a few basics about needle type and size can completely change your sewing experience.
Let’s simplify it.
Your needle:
A dull or incorrect needle can cause:
And because needles wear gradually, you often don’t realise performance has declined.
Most hobby quilters don’t change needles often enough.
A good rule:
Change your needle every 1–2 quilt projects.
Or sooner if you notice:
Needles dull faster than we think — especially when quilting through batting and multiple layers.
Needles have two numbers, like 80/12 or 90/14.
The first number (European sizing) refers to the shaft diameter.
The second number (American sizing) is the corresponding system.
The larger the number, the thicker the needle.
For quilting, most hobby quilters use:
80/12 – Good for piecing with 50wt thread
90/14 – Good for quilting through multiple layers
75/11 – Good for fine thread and lightweight fabric
If you’re unsure, 80/12 is a safe starting point for most cotton quilting projects.
This is where things sound more complicated than they are.
Let’s break it down clearly.
Best for:
Universal needles work well for most cotton quilting fabrics.
If you’re just starting out, they’re perfectly fine.
Quilting needles are slightly tapered and designed to:
They’re excellent for detailed piecing and fine quilting work.
If you’re serious about accuracy, quilting-specific needles are worth trying.
Microtex needles are sharper and finer.
Best for:
If you love crisp seams and sharp block points, these are a favourite among experienced hobby quilters.
Topstitch needles have a larger eye.
Best for:
If your thread keeps shredding while machine quilting, switching to a topstitch needle can help.
If you hand quilt or hand bind:
Betweens needles are:
For binding, slightly longer sharps are often more comfortable.
Needle choice in hand quilting is very personal — comfort matters.
This is where many issues begin.
Fine thread + thick needle = loose stitches
Thick thread + fine needle = breakage
As a general guide:
50wt cotton thread ? 80/12 needle
Heavier quilting thread ? 90/14 needle
Fine detail quilting ? 75/11 needle
When thread and needle are compatible, stitching feels smoother immediately.
If something feels off, change the needle before adjusting tension settings.
It’s the simplest troubleshooting step.
Yes — consistency matters.
High-quality quilting needles maintain sharpness longer and produce more reliable stitching.
When browsing quilting needles, look for:
Specialty quilting retailers like Fat Quarter Shop carry a range of quilting, Microtex, and topstitch needles, making it easier to choose based on your project rather than guessing at a general sewing aisle.
You don’t need every needle type.
Start with:
If something feels wrong, change the needle first.
It’s the cheapest fix in quilting — and often the most effective.
This article is part of our Ultimate Guide to Quilting Notions for Hobby Quilters, where we simplify tools without overwhelming you.
Next in the series:
Marking Tools That Won’t Bleed or Ghost on Fabric
Elephant block. Have stumbled at the first hurdle. Tried to piece I onto H. But I is 2.5 inches and the rectangle H is only 4.5. I can’t make them fit. Clearly I dont understand the principle behind this. Also when it says trim seam, is the left hand corner two material pieces thick or does H get trimmed right back as well?
If someoe could explain this I can get stuck in. I am a good seamstress but a novice quilter – but I thought they would all fit together easy peasy. Help!!!!!!!
this is a way of making triangles without having to cut the triangle. lay I at the lefter corner of H. sew your seam from the corner to corner of I starting with the bottom left of I and sewing to the top right corner of I. then you trim both I and H at a 1/4 inch and press seam. It should only be one layer. then lay another I square over the right end of H. this time sewing corner to corner of I square from the top left corner to the bottm right ocrner. this makes the triangle of the elephant head. /\ then trim this one and press the I back open. I hope this helps.
Loved loved loved this little quilt. Enjoyed piecing it and the entire process. I am new to quilting and this was a nice challenge. I will make it again. Thanks for being so generous to share this cute idea.
So glad you enjoyed making this pattern Cloey! Welcome to quilting. Scarlett