As you know, in quilting, mitred corners are a technique used to create neat and tidy corners when attaching binding to a quilt. The process involves folding and tucking the corners in a way that creates a diagonal seam that aligns with the edges of the quilt.
Generally, you would follow these steps to create them:
- Begin by preparing the binding strips. Fold and press the binding strip in half lengthwise, wrong sides together.
- Start attaching the binding to one side of the quilt, leaving a tail of around 6-8 inches loose at the beginning.
- Sew the binding to the quilt with a ¼ inch seam allowance, stopping about ¼ inch away from the first corner.
- Fold the binding strip up, away from the quilt, creating a 45-degree angle with the raw edges aligned with the next edge of the quilt.
- Hold the angle in place and fold the binding strip back down, aligning the raw edges with the next edge of the quilt. The folded edge should be in line with the top edge of the quilt.
- Continue sewing the binding along the next edge, starting at the top and leaving a 6-8 inch tail at the end.
- Repeat steps 3-6 for the remaining corners, folding and tucking the binding at each corner to create a mitred corner.
- Once all the corners are mitred, trim the excess binding, leaving a small overlap of about ¼ inch.
- Fold the binding over the edge of the quilt, encasing the raw edges, and hand stitch or machine stitch the binding in place.
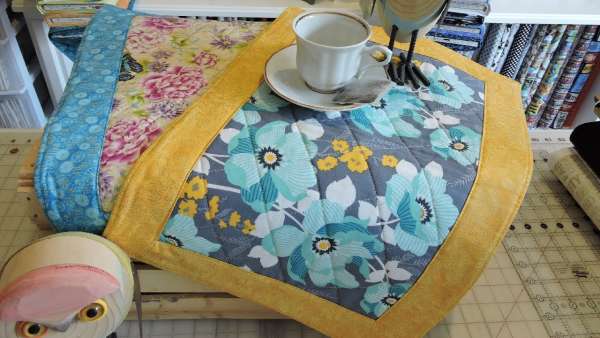
Today’s video is a placemat tutorial for miter corners on your quilted placemat. This tutorial is easy to follow and guide you as you learn the basics of Mire corners for your quilting projects.


Leave a Reply