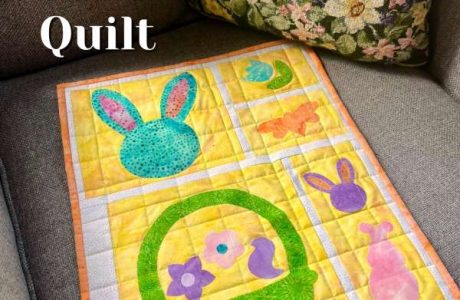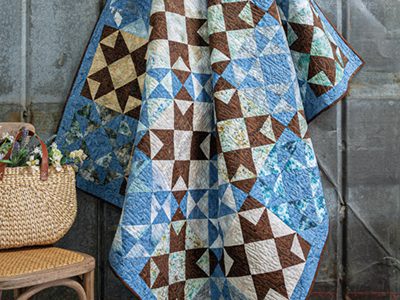
Quilts are not only cozy additions to your bedding but also pieces of art that deserve to be displayed. Whether you have a treasured family heirloom or a beautifully crafted quilt, showcasing it on your wall can add warmth and character to any room. To help you find the perfect quilt wall hanger, we’ve compiled a list of the top 5 options available on Amazon.
Product Information: This quilt hanger from Ackfeld is made of durable steel with a black finish, providing a sleek and modern look. It features a simple design with two loops to hang your quilt securely. The 12-inch length makes it suitable for smaller quilts or quilted wall hangings.
Amazon Link: Ackfeld 12-Inch Quilt Hanger
Hang It Dang It Adjustable Quilt Hanger
Product Information: The Hang It Dang It quilt hanger is a versatile option that allows you to easily adjust the width to fit different quilt sizes. It’s made of lightweight aluminum with a white powder-coated finish, blending seamlessly with any decor. This hanger is designed to hold quilts securely while minimizing damage to the fabric.
Product Information: Crafted from solid oak, this wooden quilt wall hanger adds a rustic charm to your space. It features a simple design with wooden knobs for hanging quilts without causing any damage. Available in various lengths, it can accommodate quilts of different sizes and weights.
Ackfeld 22-Inch Scroll Single Wire Quilt Hanger
Product Information: Another great option from Ackfeld, this scroll-style quilt hanger adds an elegant touch to your quilt display. Made of sturdy metal with a black finish, it features a single wire design that allows your quilt to take center stage. The 22-inch length is suitable for medium to large quilts.
Hickory Manor House Quilt Holder with Shelf
Product Information: For those looking for a combination of functionality and style, this quilt holder from Hickory Manor House is the perfect choice. It features a decorative shelf above the quilt hanger, allowing you to display small decor items or photo frames alongside your quilt. Crafted from durable resin with a hand-applied finish, it adds a touch of elegance to any room.
Whichever quilt wall hanger you choose, it’s sure to elevate the look of your space while giving your cherished quilts the attention they deserve. With a variety of styles and designs available, you can easily find the perfect hanger to complement your decor and showcase your quilts in style.
Here are some DIY ideas too
DIY Tutorial: How to Make a Simple Quilt Hanger
Quilt hangers are a fantastic way to display your quilts as decorative pieces in your home. Making your own quilt hanger not only adds a personal touch to your decor but also allows you to customize it to fit your style and the size of your quilt. In this tutorial, we’ll guide you through the steps to create a simple and elegant DIY quilt hanger using basic materials.
Materials Needed:
- 1×2-inch wood board (length depending on the size of your quilt)
- Sandpaper
- Stain or paint (optional)
- Saw
- Drill
- Screws
- Screwdriver
- D-ring hangers or sawtooth hangers
- Level (optional)
Step 1: Measure and Cut the Wood Board
- Measure the width of your quilt to determine the length of the wood board needed. Add a few extra inches to allow for overhang on each side.
- Use a saw to cut the wood board to the desired length. If you don’t have a saw, many hardware stores offer cutting services.
Step 2: Sand the Wood
- Once the wood board is cut, use sandpaper to smooth out any rough edges or surfaces. Sanding will also prepare the wood for staining or painting if you choose to do so.
Step 3: Stain or Paint the Wood (Optional)
- If you prefer a stained or painted finish, now is the time to apply it. Follow the instructions on your chosen stain or paint product and allow it to dry completely before moving on to the next step.
Step 4: Attach the D-ring Hangers
- On the backside of the wood board, measure and mark where you want to place the D-ring hangers. These hangers will be used to hang your quilt hanger on the wall.
- Use a drill to create pilot holes at the marked locations, then screw the D-ring hangers into place.
Step 5: Mount the Quilt Hanger
- Decide where you want to hang your quilt hanger on the wall. Use a level to ensure it is straight, if desired.
- Use screws to attach the quilt hanger to the wall, making sure to screw into studs for added stability. If studs are not available, use drywall anchors to support the weight of the quilt.
Step 6: Hang Your Quilt
- Once the quilt hanger is securely mounted on the wall, it’s time to hang your quilt. Simply drape the quilt over the wood board, adjusting it as needed to achieve the desired display.
Step 7: Admire Your Handiwork
- Stand back and admire your DIY quilt hanger! Your quilt is now beautifully displayed for all to see, adding warmth and charm to your space.
Making your own quilt hanger is a fun and rewarding project that allows you to showcase your quilts in style. With just a few basic materials and simple steps, you can create a custom quilt hanger that perfectly complements your decor and highlights your favorite quilts. Happy crafting!


Leave a Reply