• Home
  • Suggest A DIY
  • DIY Newsletter

Quilting

Patterns, patchworks and projects

  • About CraftGossip
  • Our Network
    • Bath & Body Crafts
    • Candle Making Ideas
    • Crochet Ideas
    • Cross Stitch
    • Edible Crafts
    • Felting Patterns
    • Glass Art
    • Home & Garden Ideas
    • Indie Crafts
    • Jewelry Making
    • Kids Crafts
    • Knitting Patterns
    • Lesson Plans
    • Needlework
    • Party Ideas
    • Polymer Clay
    • Quilting Ideas
    • Recycled Crafts
    • Scrapbooking
    • Sewing Patterns
    • Stamping
    • DIY Weddings
    • Not Craft Ideas
  • Giveaways
  • Roundups
  • Christmas
  • Search

How to Make a Mini Quilt Design Board

April 12, by Claudia Porter. Leave a Comment

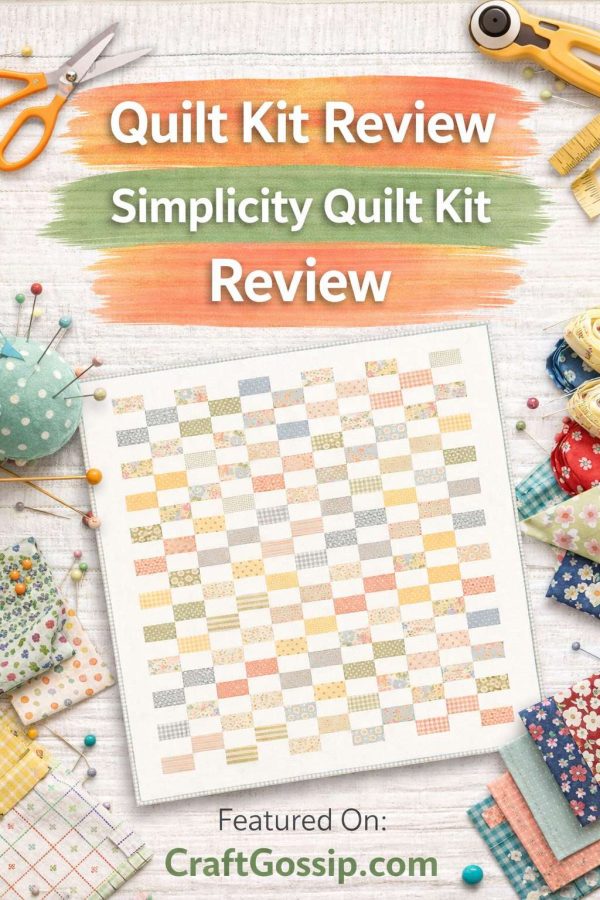
Perfect for anyone who likes mini projects, here’s a tutorial on making a mini design board that measures 10″ by 10″.  Designed by Bee in My Bonnet, this is not a difficult project, but you do need some special supplies.  No worries though, the tutorial has them all listed.

This handy article takes you through the entire process.  It even includes some tips.  The most important one is to not use a new rotary cutter blade.  Good tip!

This is a great idea for those of us who like to do smaller projects.  It’s also handy for folks who quilt when they travel.  The nice thing is that even though this tutorial is for a 10″ square, any size can easily be made.

It’s ideas like this that help make quilting a little bit easier.

Click here to get this free tutorial: Mini Design Board Tutorial

[photo from Bee in My Bonnet]

Next Quilting Pattern:

  • How to Machine Quilt a Turkey Design
    How to Machine Quilt a Turkey Design
  • How to Make a Flying Geese Mini Quilt
    How to Make a Flying Geese Mini Quilt
  • How to Make a Halloween Bats Mini Quilt
    How to Make a Halloween Bats Mini Quilt
  • How to Make a Vote Mini Quilt
    How to Make a Vote Mini Quilt

Share this:

  • Click to share on Facebook (Opens in new window)
  • Click to share on Pinterest (Opens in new window)
«
»

Have you read?

Video Tutorial – Easy Charm Pack Quilt

Here’s what you can do with your spare Jelly Roll strips and stash: construct a gorgeous quilt! Kimberly made her Jelly Roll Scrap Quilt with 13 additional Jelly Roll strips left over from another quilt, as well as extra background.  Check out her starching skills, you can also DIY and make your own spray starch for quilting.

1. Mix 1 1/2 tbsp cornstarch with 2 cups of distilled water until all lumps are dissolved.
2.  Fill a glass spray bottle.


Enjoy a brief quilting time lapse of Kimberly constructing the quilt after watching a basic block instruction with additional Jelly Roll strips!


Share this:

  • Click to share on Facebook (Opens in new window)
  • Click to share on Pinterest (Opens in new window)

Leave a ReplyCancel reply

RSS From The Network

  • How to Color Die Cuts for a Halloween Witch Card
  • 4 FREE Autumn Journaling Pocket Cards
  • How to make an adorable faux fur wiggle eye cuff perfect for Halloween
  • Easy Pumpkin Crafts for Kids
  • Girl’s Strawberry Cardigan – Knitting Pattern
  • Pumpkin Cross Stitch Patterns
  • How to make your own washi tape
  • Knit Your First Shawl — It’s a Piece of Cake
  • Free Crochet Pattern – Fruit Pies
  • Long Cabled Vest – Free Knitting Pattern

Trending popular ideas

7 Quick & Easy Quilt Patterns
6 Tips For Machine Quilting
25 Free Scrap Fabric Christmas Ornament Patterns
15 Free Quilted Christmas Table Runner Patterns
10 Free Halloween Quilt Blocks
How to Make a Quick and Easy Table Runner with Strips
8 Disappearing Quilt Patterns
9 Free Motion Quilting Patterns
15 Free Halloween Quilted Table Runner Patterns
11 Free Leaf Quilt Block Patterns

Copyright © 2023 · CraftGossip | Start Here | Contact Us | Link to Us | Your Editors | Privacy and affiliate policy